CPV One - First Steps
Welcome to CPV One (opens new window). This guide walks you through everything you need to do before launching your first campaign - from logging in for the first time to having your tracker fully configured and ready to use.
☁️ This guide is for CPV One (cloud-hosted) users only.
⚙️ If you are using CPV Lab (self-hosted), see CPV Lab - First Steps.
What You Will Need
- Your CPV One welcome email - it contains your login URL, username, and temporary password
- A traffic source account (e.g. PropellerAds, TikTok Ads, Google Ads)
- An affiliate network account (if you are an affiliate marketer) or your own offer URL (if you are an advertiser or ecommerce brand)
The full setup takes about 15 minutes.
Quick Summary
- Step 1 - Find Your Login URL
- Step 2 - Log In and Change Your Password
- Step 3 - Set Your Timezone
- Step 4 - Set Default Capture Options
- Step 5 - Add Your Offer Sources
- Step 6 - Add Your Traffic Sources
- Step 7 - Set Up a Custom Tracking Domain (Recommended)
- Step 8 - You Are Ready
Step 1 - Find Your Login URL
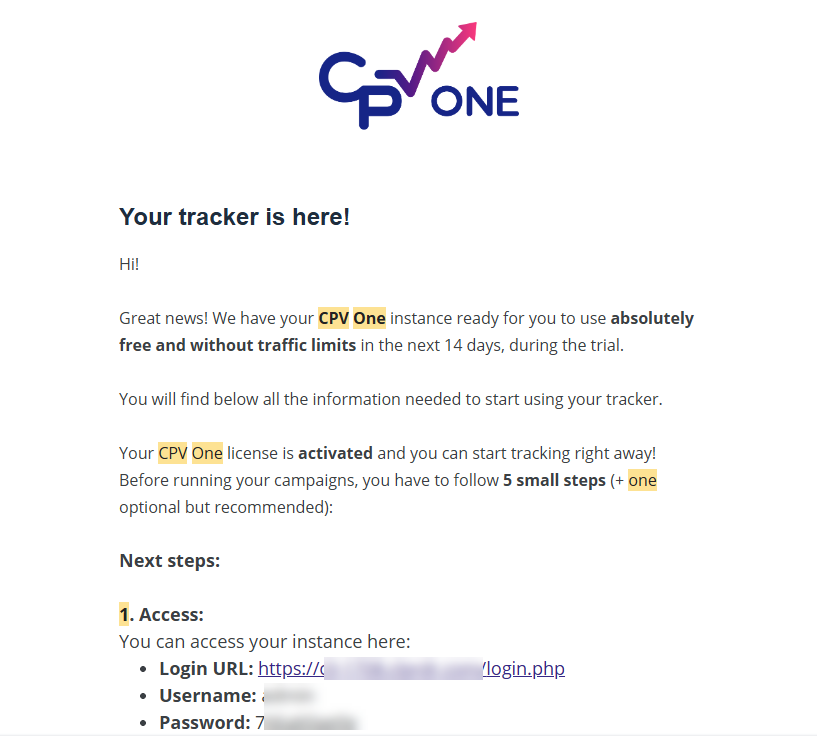
When you registered for CPV One, you received a welcome email. This email contains:
- Your unique CPV One login URL - save this, it is your permanent tracker URL
- Your username
- Your temporary password
⚠️ Save your login URL. It is unique to your account. Bookmark it in your browser now - it is the URL you will use every time you log in to CPV One.
[SCREENSHOT: CPV One welcome email showing the login URL, username, and temporary password highlighted]
Step 2 - Log In and Change Your Password
- Open your login URL in your browser.
- Enter your username and temporary password from the welcome email.
- Click Login.
Once logged in, change your password immediately.
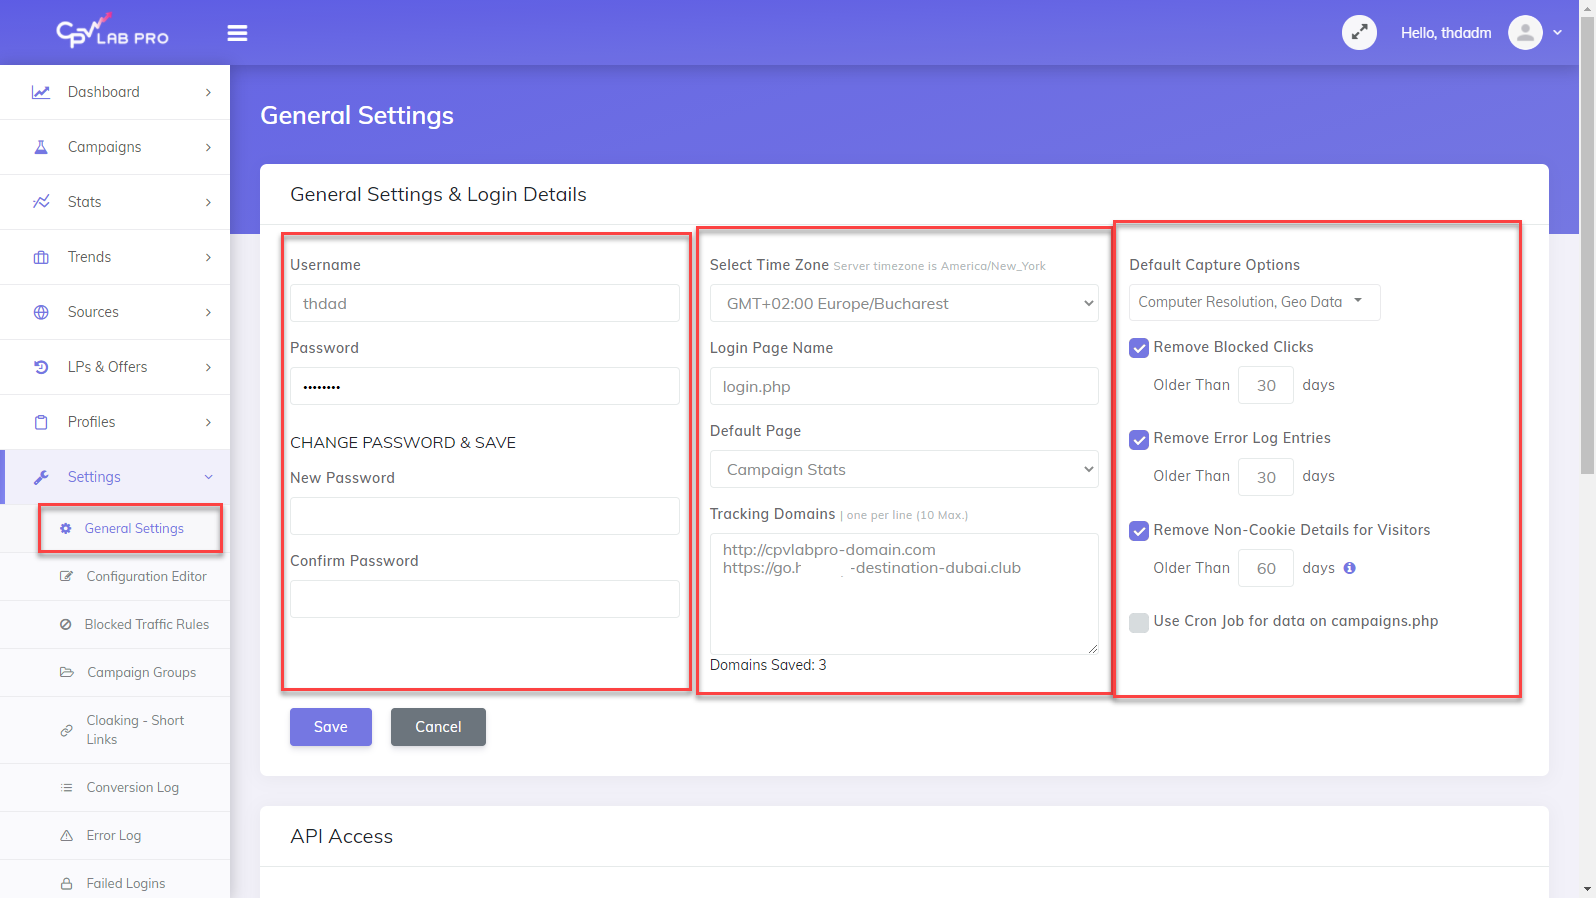
- Go to Settings ➡️ General Settings.
- Find the Login Details section.
- Enter a new strong password and confirm it.
- Click Save.
⚠️ Change your password on first login. Your temporary password was sent by email and should not be used for ongoing access. Use a strong, unique password and store it in a password manager.
Step 3 - Set Your Timezone
Getting your timezone right is important. It controls how all timestamps, reports, and stats are displayed in CPV One.
- Go to Settings ➡️ General Settings.
- Find the Timezone dropdown.
- Select your local timezone.
- Click Save.
Step 4 - Set Default Capture Options
Capture Options control what visitor data CPV One records for every click. You set defaults here once - and can override them per campaign later.
- Go to Settings ➡️ General Settings.
- Find the Default Capture Options section.
- Enable the data points you want to track by default:
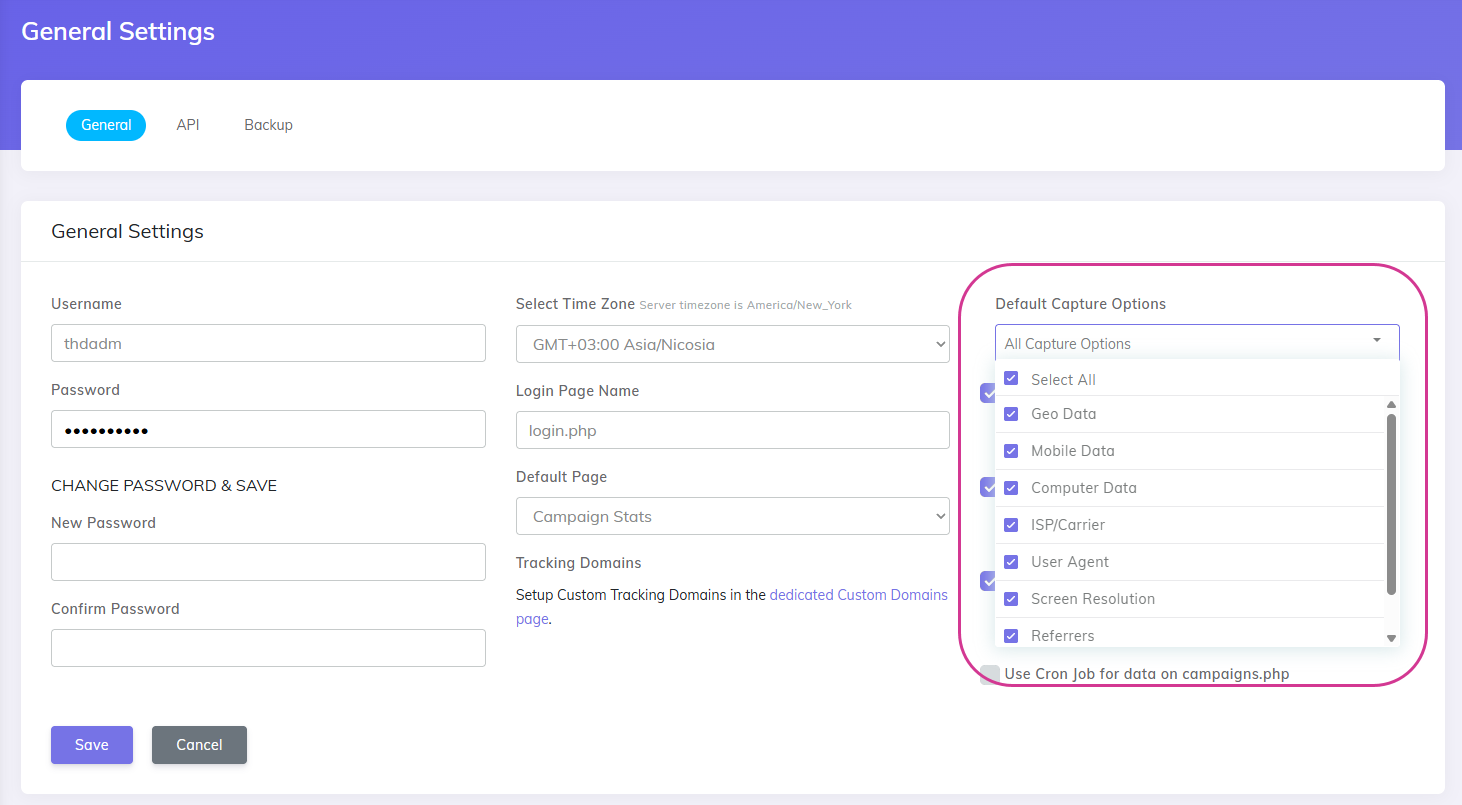
| Option | What it captures | Recommended |
|---|---|---|
| Computer Data | Browser type and version for desktop visitors | Yes |
| Computer Resolution | Screen resolution for desktop visitors | Optional |
| GEO Data | Country, state, city, continent | Yes |
| ISP / Carriers | Internet provider and mobile carrier | Yes |
| Mobile Data | Mobile device, OS, and browser data | Yes |
| Referrers | The domain and page the visitor came from | Yes |
| User Agent | Full browser and device string | Yes - required for CAPI |
- Click Save.
💡 Enable User Agent capture if you plan to use Facebook CAPI, TikTok CAPI, or Google Ads conversion tracking. It is required for accurate server-side event matching.
Step 5 - Add Your Offer Sources
An Offer Source is the affiliate network or platform you are promoting offers from. CPV One comes with 200+ networks pre-configured in the catalog.
- Go to Sources ➡️ Offer Sources.
- Click Import from Catalog.
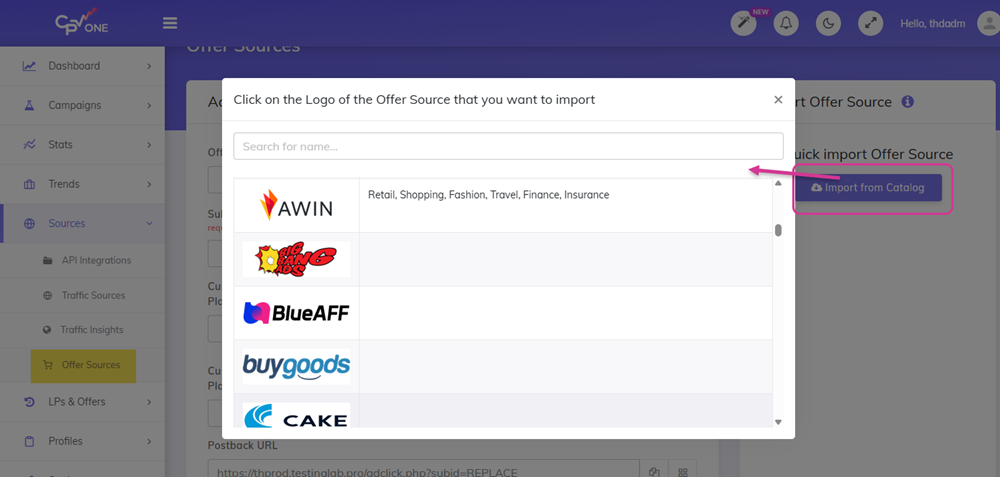
- Search for your affiliate network by name.
- Click on it to load the pre-configured settings.
- Review the settings - the postback URL and SubID token are pre-filled automatically.
- Click Save.

Repeat for each affiliate network you use.
💡 Copy the Postback URL shown on the offer source settings page. You will need to paste it into your affiliate network's S2S settings so it can notify CPV One when a conversion happens.
💡 Your network not in the catalog? You can add it manually. You will need the SubID token name from your network's documentation. See Offer Sources guide.
Step 6 - Add Your Traffic Sources
A Traffic Source is the ad network or platform you are buying traffic from. CPV One comes with 150+ traffic sources pre-configured in the catalog.
- Go to Sources ➡️ Traffic Sources.
- Click Import from Catalog.
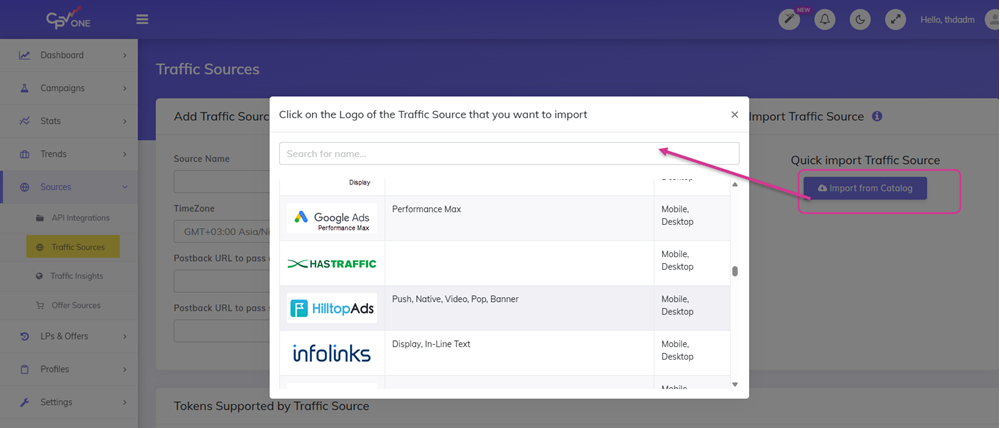
- Search for your traffic source by name.
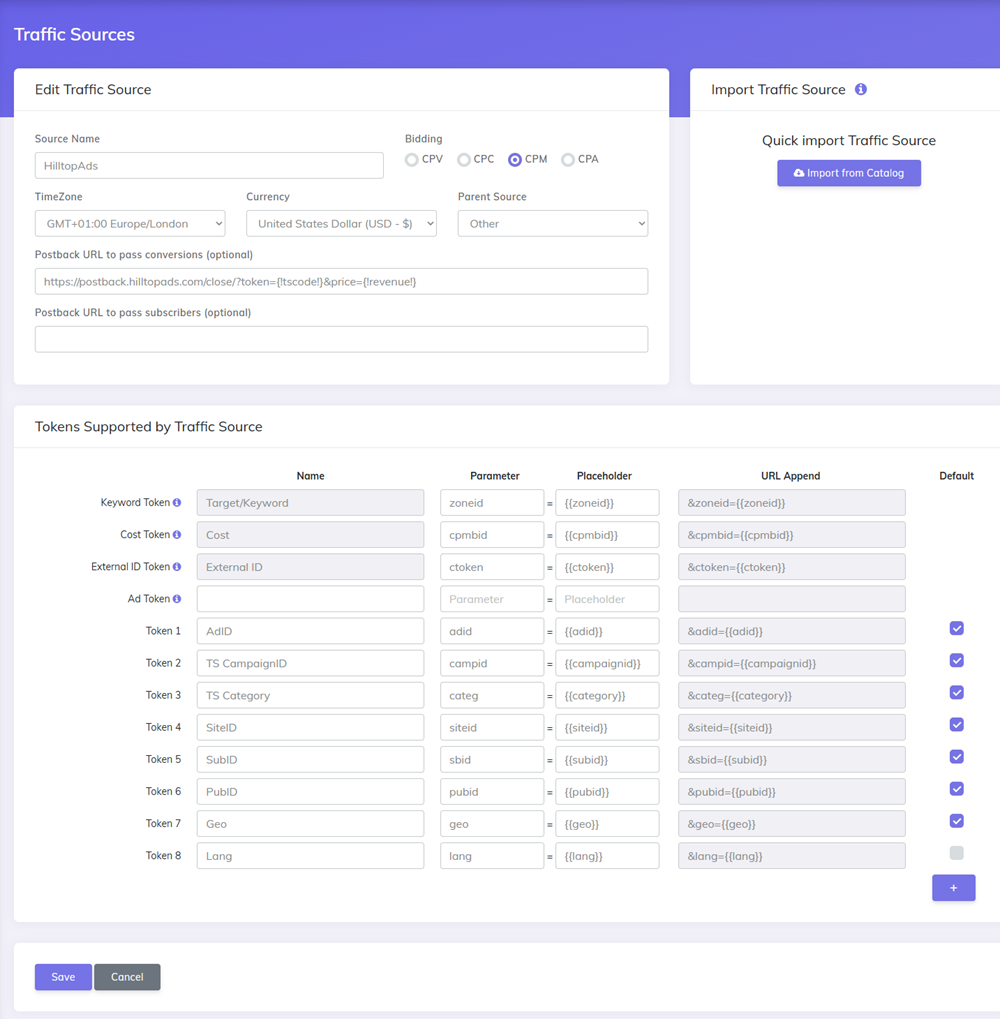
- Click on it to load the pre-configured settings.
- Review the settings - all tracking tokens are pre-filled.
- Click Save.
Repeat for each traffic source you use.
💡 Predefined Tokens: When you add a traffic source, you can select which tokens should always be pre-selected in the campaign setup for that source. This saves time when creating multiple campaigns from the same traffic source. See Predefined Tokens for Traffic Sources.
Step 7 - Set Up a Custom Tracking Domain (Mandatory)
By default, your CPV One tracking links use the standard CPV One domain. A custom tracking domain lets you use your own domain in all your campaign URLs and tracking links and use 1st party data for your campaigns.
Why this matters:
- Your tracking links look more trustworthy to ad networks and visitors
- Some traffic sources (like Google Ads) require the campaign URL domain to match the landing page domain
- First-party data - tracking via your own domain improves data accuracy
- Protects your campaigns from ad blockers that target known tracker domains
For CPV One, setting up a custom tracking domain involves adding a CNAME record in your domain's DNS settings.
→ Follow the full guide: Custom Tracking Domains

Step 8 - You Are Ready
With these steps complete, your CPV One account is fully configured. You are ready to create your first campaign.
Your setup checklist:
- [ ] Login URL saved and bookmarked
- [ ] Password changed from the temporary one
- [ ] Timezone set correctly
- [ ] Default capture options enabled
- [ ] Offer sources added
- [ ] Traffic sources added
- [ ] Custom tracking domain set up (recommended)
Next step - create your first campaign:
Frequently Asked Questions
Where do I find my CPV One login URL? It was sent in your welcome email when you registered. If you cannot find the email, check your spam folder or contact CPV One support (opens new window).
Can I change my login URL? No - your CPV One login URL is unique to your account and cannot be changed. Bookmark it in your browser so you always have it.
Do I need to set up a server or install anything? No. CPV One is cloud-hosted. There is nothing to install. Everything runs in your browser.
Can I add team members to my CPV One account? Yes. Go to Settings ➡️ User Accounts to add team members and control what they can access. This depends on your CPV One plan permissions. See User Account Access Control.
What is the difference between CPV One and CPV Lab? CPV One is cloud-hosted - we manage the infrastructure. CPV Lab is self-hosted - you install it on your own server. See What is CPV Lab and CPV One for a full comparison.
You may also find useful: